Heart to Art Upcycle & Applique
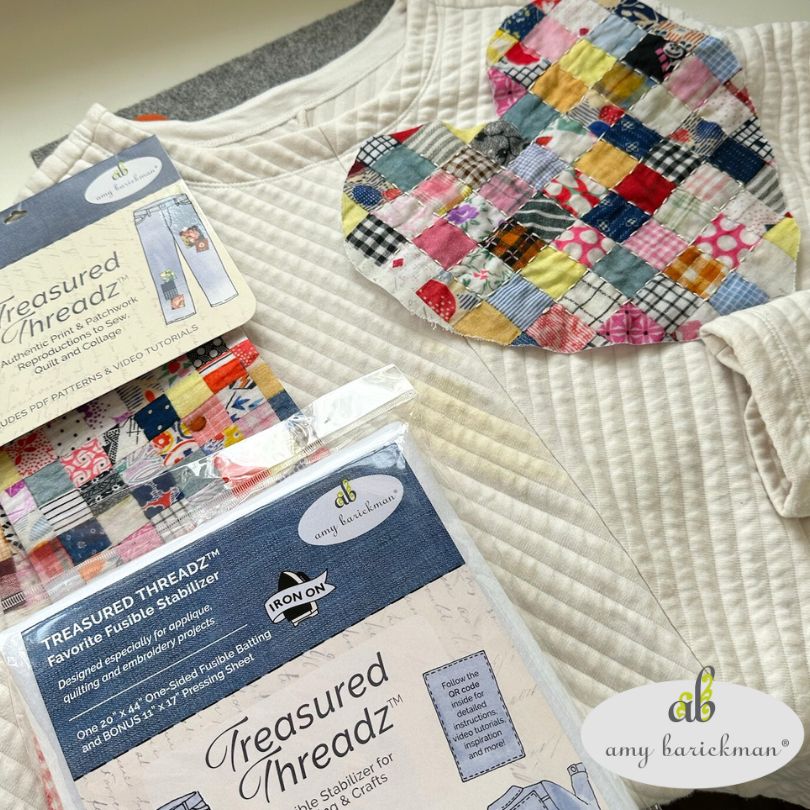
Hi everyone! Boy, do I have a treat for you… a FREE ‘Heart to Art’ PDF Pattern that I know you will adore – and just in time for Valentine’s Day projects! In this tutorial I have used my new Treasured Threadz™ Postage Stamp Retro fabric panel and my Favorite Fusible Stabilizer, but you can use any cotton fabric you have.
There are so many ways to use my Treasured Threadz™ fabric panels – but today I want to share with you a creative and HEARTfelt way to refresh your closet with my signature Decorative Patch Applique technique. I’ll go over the basics here but full, detailed instructions can be found on the inside of all the Treasured Threadz™ Fabric Panel and Favorite Fusible Stabilizer packaging. Watch this video tutorial to preview the process.
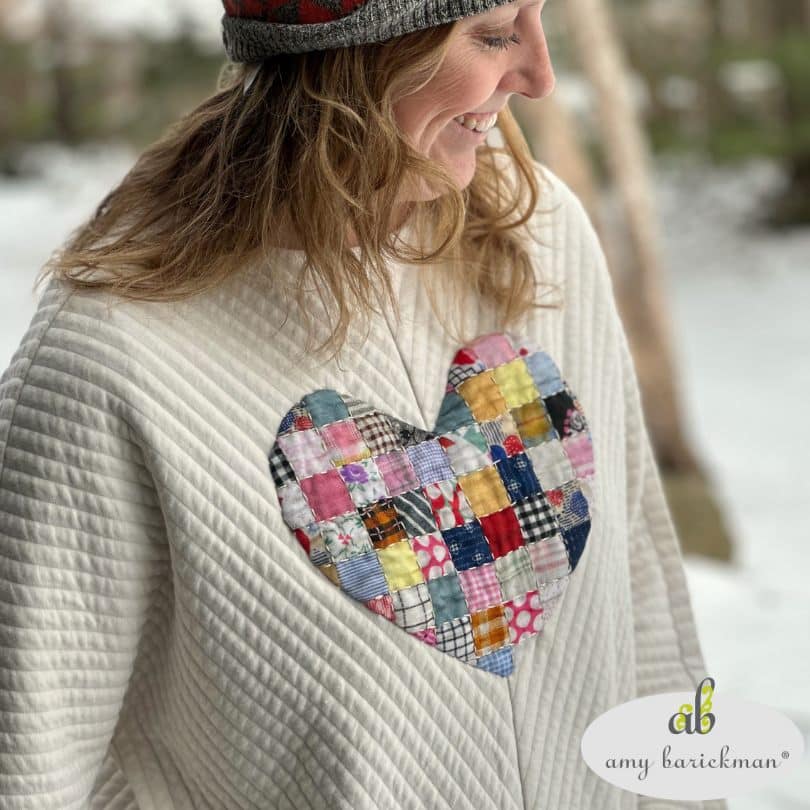
One of the best reasons to use Decorate Patch technique is when you, like me, inevitably spill something on your favorite shirt, leaving a stain that is impossible to remove. (I am still mourning the loss of my favorite white shirt, above). Upcycling your current clothing not only reduces waste but also allows you to breathe new life into your wardrobe, adding a little LOVE to each piece.
Here are the basic steps for a ‘Heart to Art’ Decorative Applique project:
- Cut a piece of the Favorite Fusible Stabilizer using the heart size that would look best on your shirt (or any other item).
- Then cut your fabric about a half an inch larger than the size of the fusible heart.
- Fold the fabric over the edges of the fusible and press it (I used my fabulous new Oliso M3Pro Project Iron).
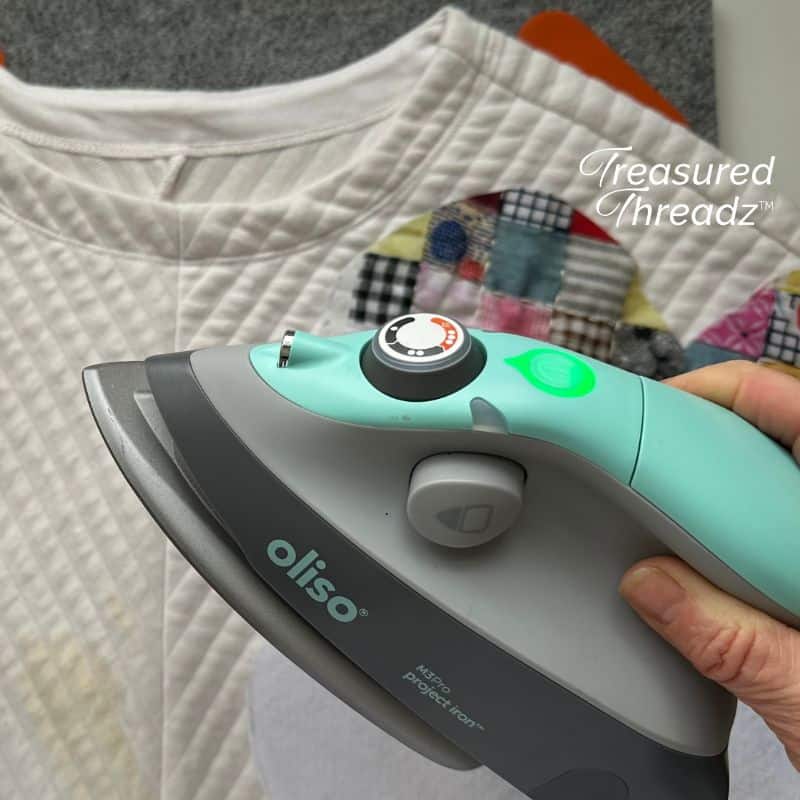
4. After that, it’s just a quick stitch down – I used a blind hem stitch to grab the base fabric and slid the needle inside the casing of the panel fabric to hide my stitching.
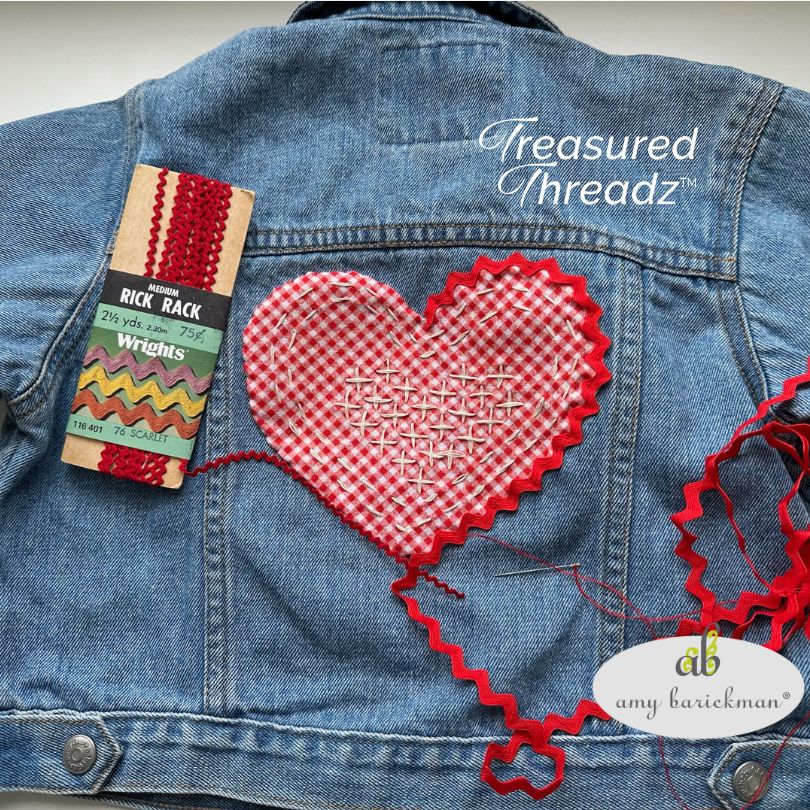
You could stop there but there are endless ways to embellish these hearts. For this child’s jean jacket, look how we added some vintage rick-rack around the edges of our 5” heart for a more finished look. You could add decorative embroidery over your fabric print, buttons, or a stitched border design to really infuse your personal style into each piece.
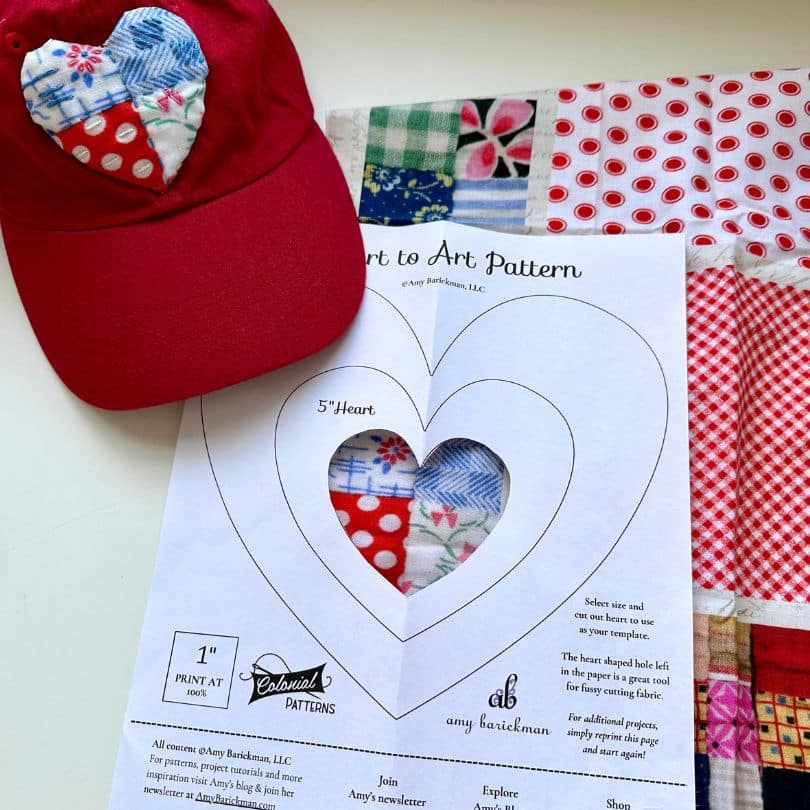
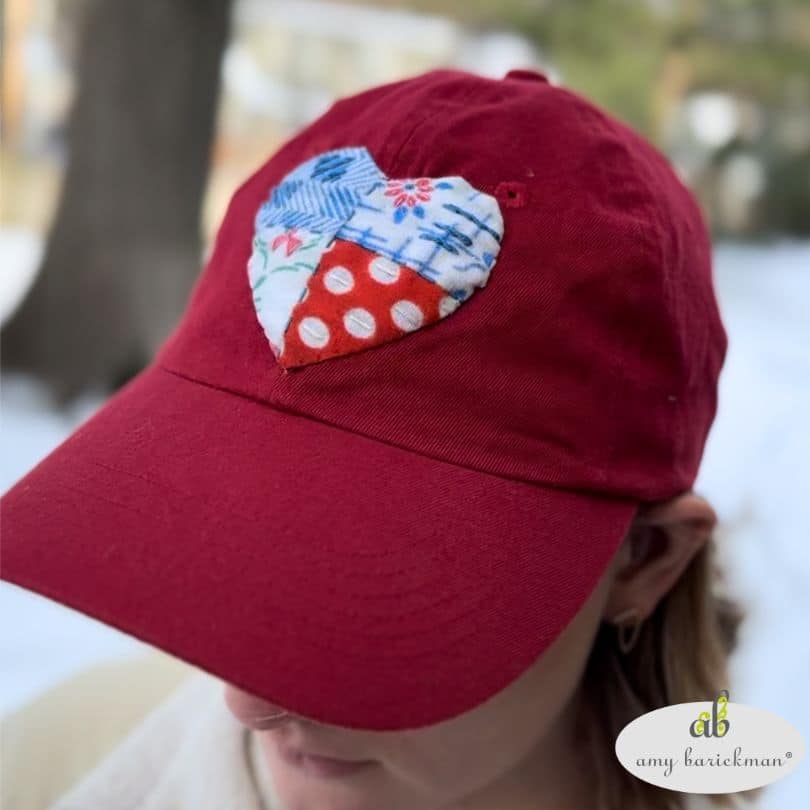
Don’t forget about accessories! I used the 3 heart to bring this plain red hat to life. Look at the difference that heart made! Here’s another tip – use the heart-shaped hole left in your paper to fussy cut your fabric to exactly what you want. I love to wear a touch of patchwork to celebrate my love of quilts!
My FREE ‘Heart to Art’ PDF pattern offers three sizes of hearts to choose from – 8″, 5″ and 3″. Just sign up with your email above to get the free pattern emailed directly to you. As a bonus, we’ll also sign you up for our weekly newsletter, which is full of projects, vintage made modern style and endless creative inspiration. I can’t wait to create something amazing with you!
If you want to learn more about Treasured Threadz™, check out this video showcasing the five panels we have to choose from and our Favorite Fusible Stabilizer.
I’m so lucky to be able to launch this new product with the distribution support of my hometown partner, Colonial Patterns makers of the popular Aunt Martha’s embroidery products. To place a Treasured Threadz™ order or for wholesale inquiries, visit colonialpatterns.com

