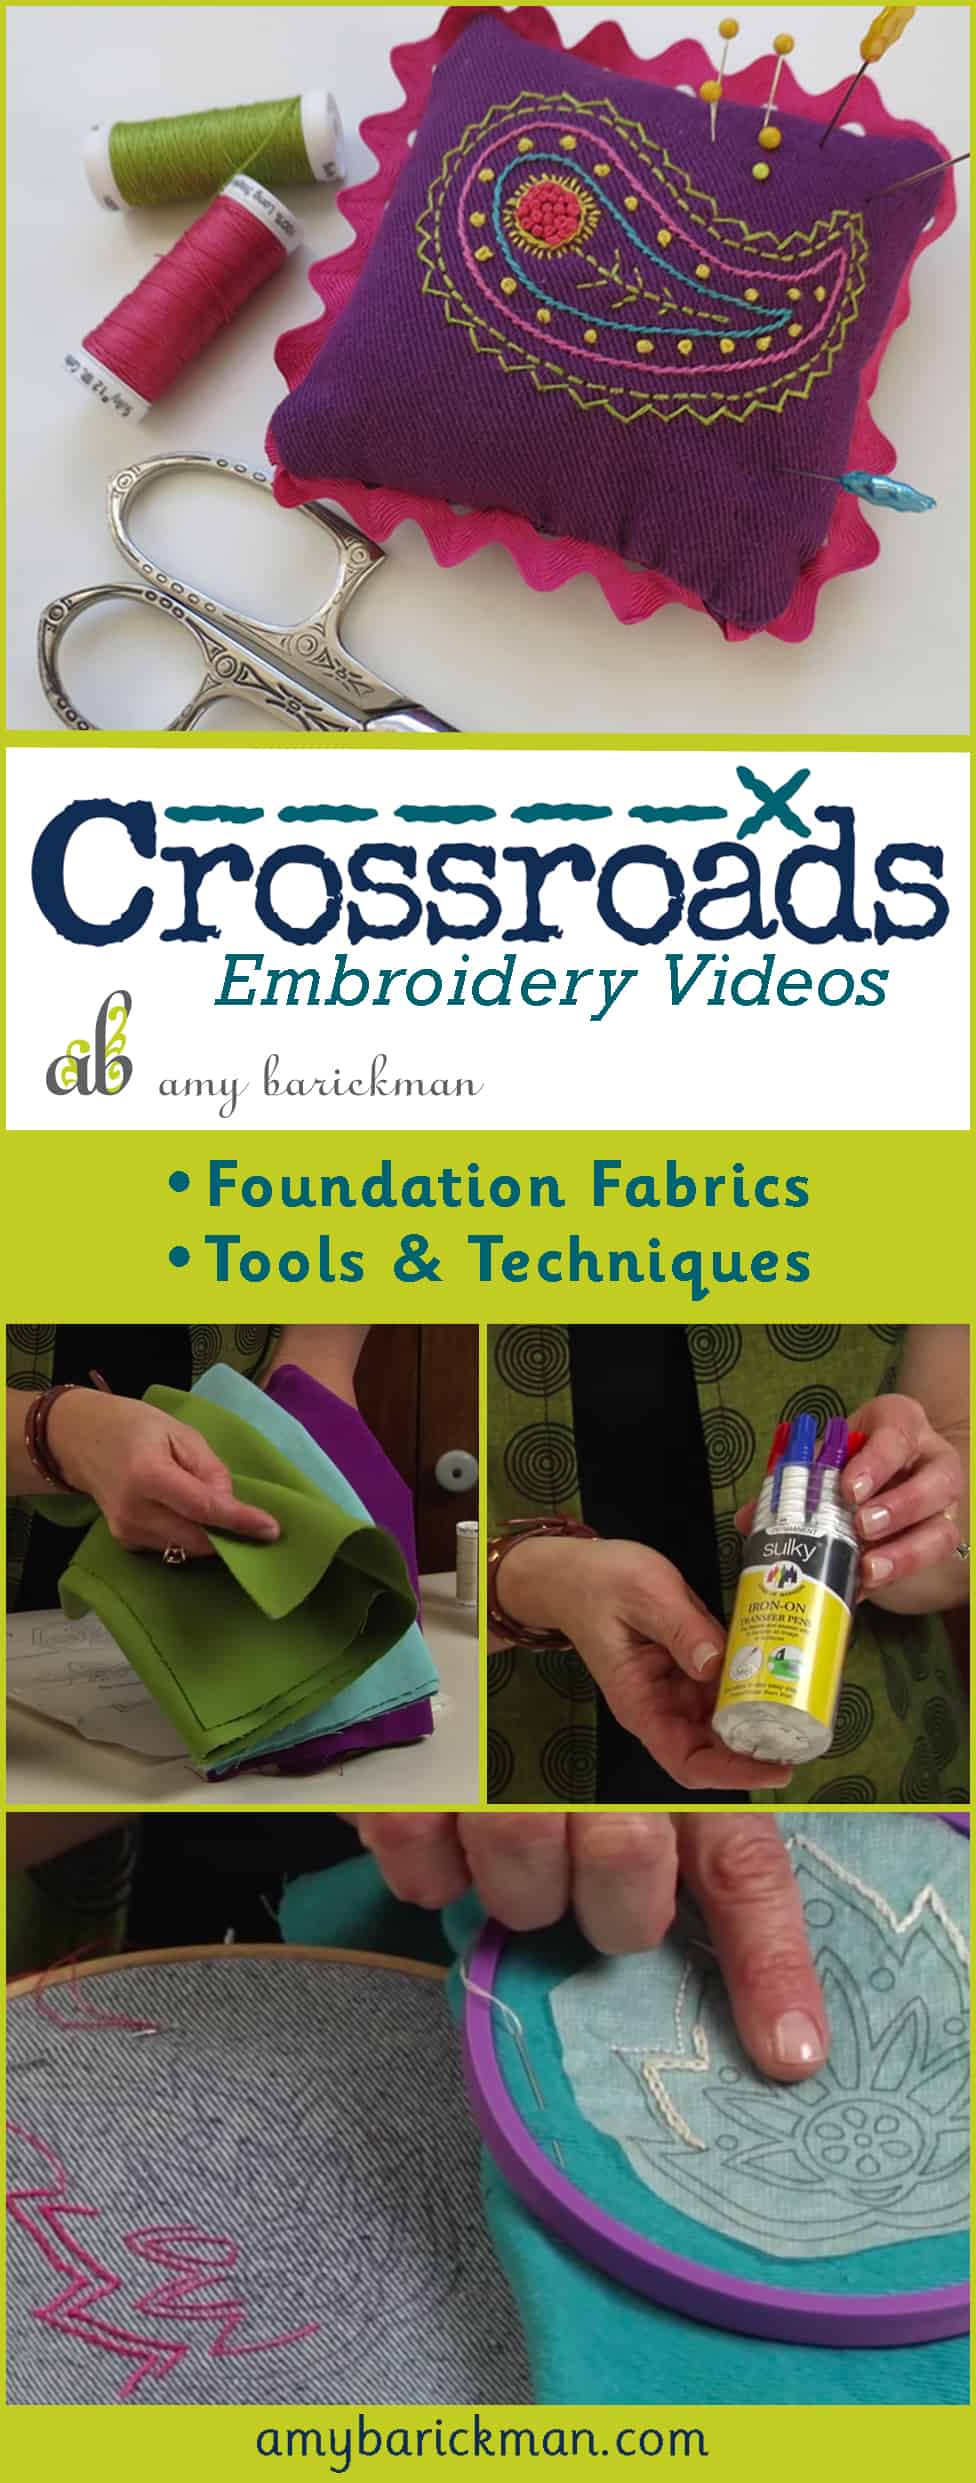
Hello! Today we bring you the second video in the Crossroads Embroidery Series! This video series was originally released with Sulky Threads. I’d like to share it with you here too! Let’s talk about all about the tools you will need for embroidery.
In my last video I told you all about one of the most important tools for stitching: floss and thread, specifically my new Crossroads Thread. Now, it is time to gather the rest of your embroidery tools.

First on the list is foundation fabric. Almost anything can be used as an embroidery foundation, but here are a few of my favorites:
–Crossroads Denim
-Linen
-Cotton
-Blanks (finished products like dish towels and bibs that can be stitched.)
If you want to try embroidery, but aren’t ready to invest in new fabric, look in your closet and see what you can find. Embroidery can be added to anything that is ready-made. Do you have a boring tank top? Add a pop of color along the neckline.

What about denim? My Crossroads Denim fabric is a lovely way to introduce stitched style to your wardrobe or home. Since the thread coordinates with it, you can be confident that your designs will look amazing. Not to mention the hand of this denim is amazing, and the colors are so saturated and beautiful! It comes in bundles that celebrate the seasons–spring, summer, autumn and winter. It’s also available by the yard in 55″ wide! Check your local stores or search online.
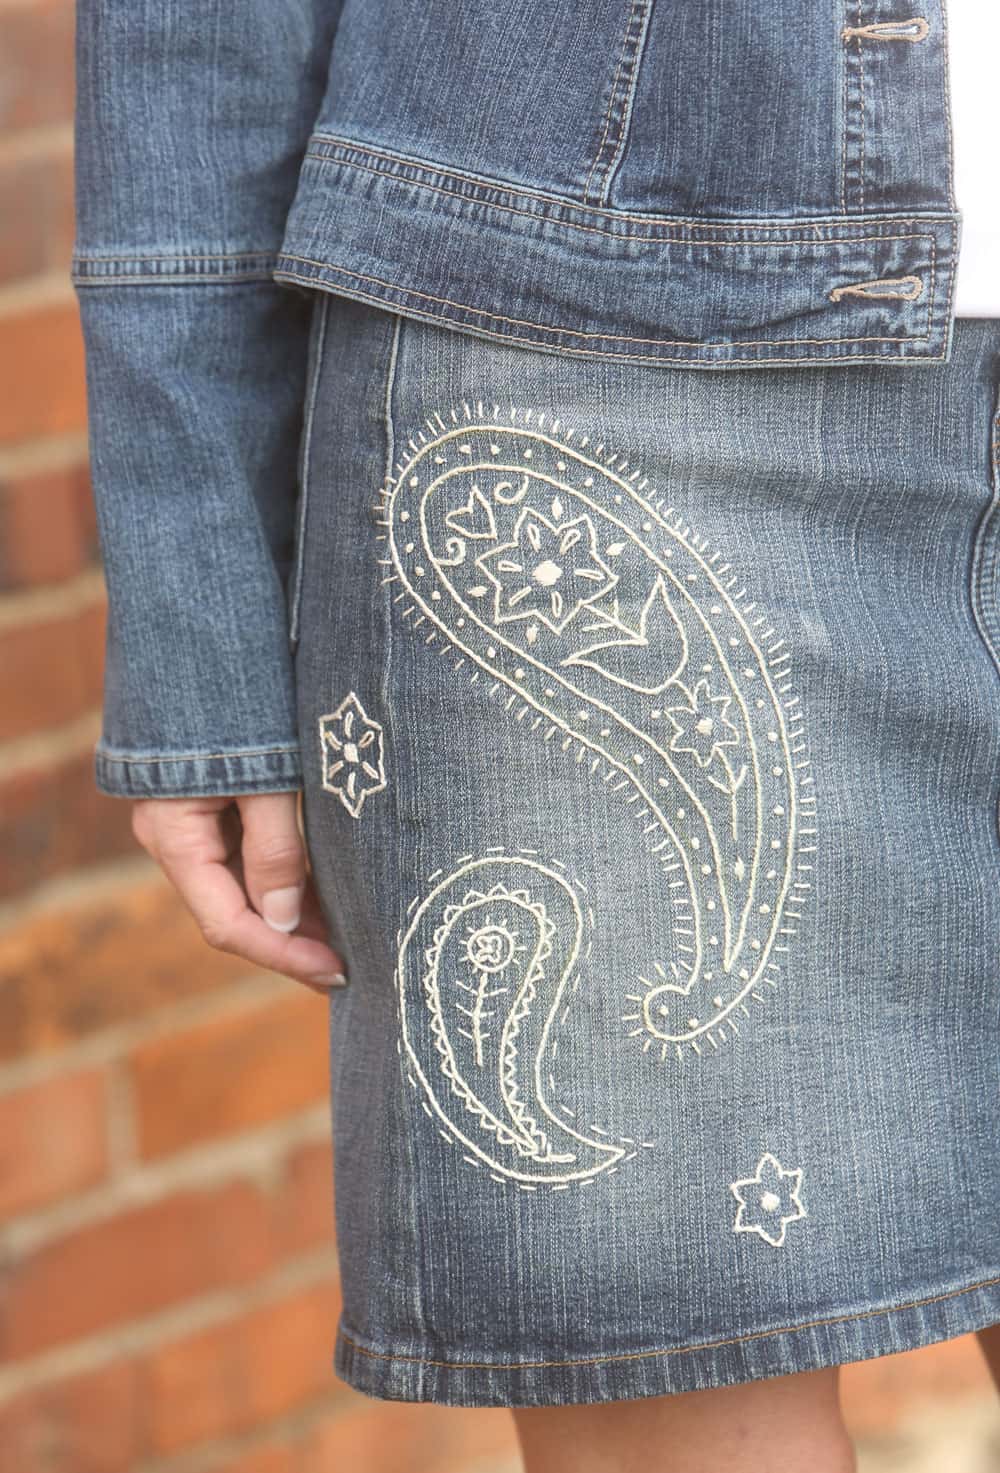
You can always have fun by trying this technique out on your own fashion-forward denim skirt, jacket or pants too! The designs shown above of the tank top and below of the ready made denim skirt are from my embroidery book Stitched Style.
How do you get the design onto the foundation fabric? Well, there are many different trace and transfer methods you can use, depending on your preference and your fabric.
–A Light Source: If you are using a thin fabric, simply put your design over
a light source, be it a light box or even just a bright window, layer your fabric and trace away.
-Ready made transfer: many embroidery designs will come with iron-on transfer designs. The designs in Stitched Style are offered both as trace, or iron-on transfer. All you have to do is cut out the transfer, position it on your fabric, iron on the design and stitch.
-Transfer pens – With Sulky iron-on transfer pens you can trace your design onto a plain piece of office paper and iron it on to your fabric.
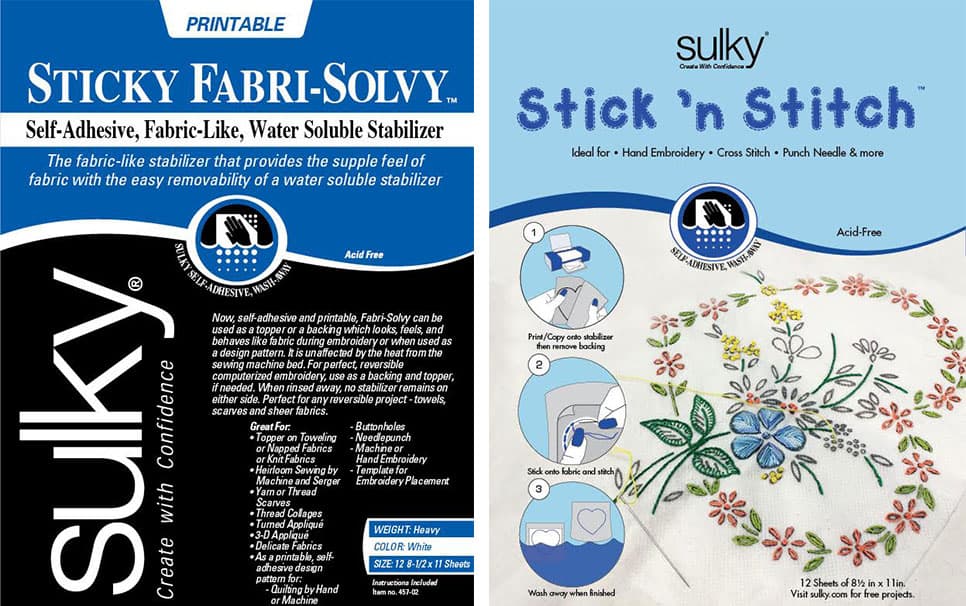
–Printable transfers: Printable transfers, like Sulky’s Stick n’ Stitch or Sticky Fabri Solvy are my favorite options. Sticky Fabri-Solvy is what is currently on the market, but Sulky is rebranding that exact same product so look for Stick n’ Stitch in stores soon. You can either trace your design to the product, or copy or print it–yes, this product can go in a printer! Then, adhere the whole product to the fabric. When you are finished stitching, simply rinse the transfer away.
You should now have your needle, thread, and foundation fabric with your design transferred. All you need is to gather an embroidery hoop and scissors and you are ready to stitch!
Stay tuned! In the next video we are going to start stitching! If you’d like to watch all of the videos, you can visit our YouTube playlist here. Be sure to click that red Subscribe button so you don’t miss our videos!
In the meanwhile, you can look at all of our embroidery books and patterns here. And, if you’d like to read a little more of the history behind my different embroidery options, check out my posts about Land That I Love, and Folk Art Motifs too!
**This post contains affiliate links.

