I am so excited that the Royals are World Series Champions! My family and I have been huge fans for many years and all season we have been sporting our favorite Royals gear and waving our rally towels proudly. But our cat Chloe has been left out of the fun – until now!
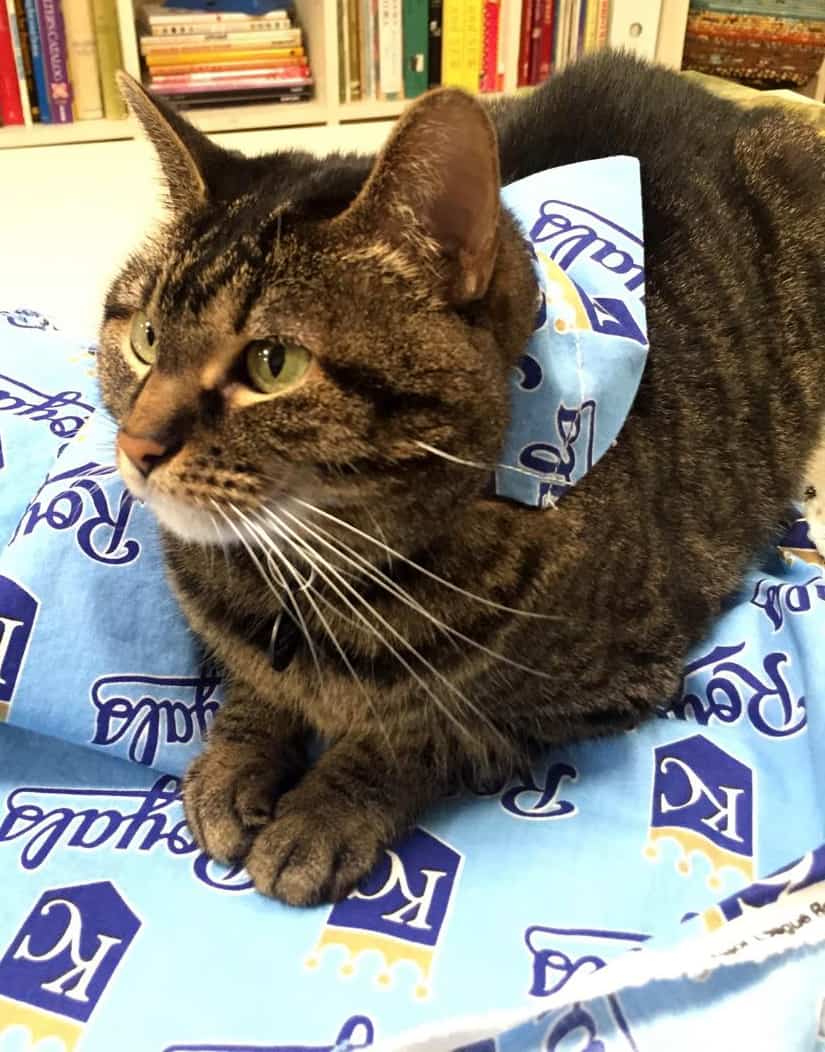
I ran across this Royals fabric when I was filming videos at Missouri Star Quilt Company. I thought it would be perfect to add a little Royals champion flare to Chloe – and my friends’ baseball loving dogs. Today I want to share with you this easy tutorial for making your own furry friend a home team scarf.

Materials:
1 yard of Royals fabric – or your favorite team!
Coordinating Thread
Cat or Dog collar
Erasable marking pen or pencil
Hard edge ruler
Piece of paper (size will vary by how big your furry friend is)
Assembly:
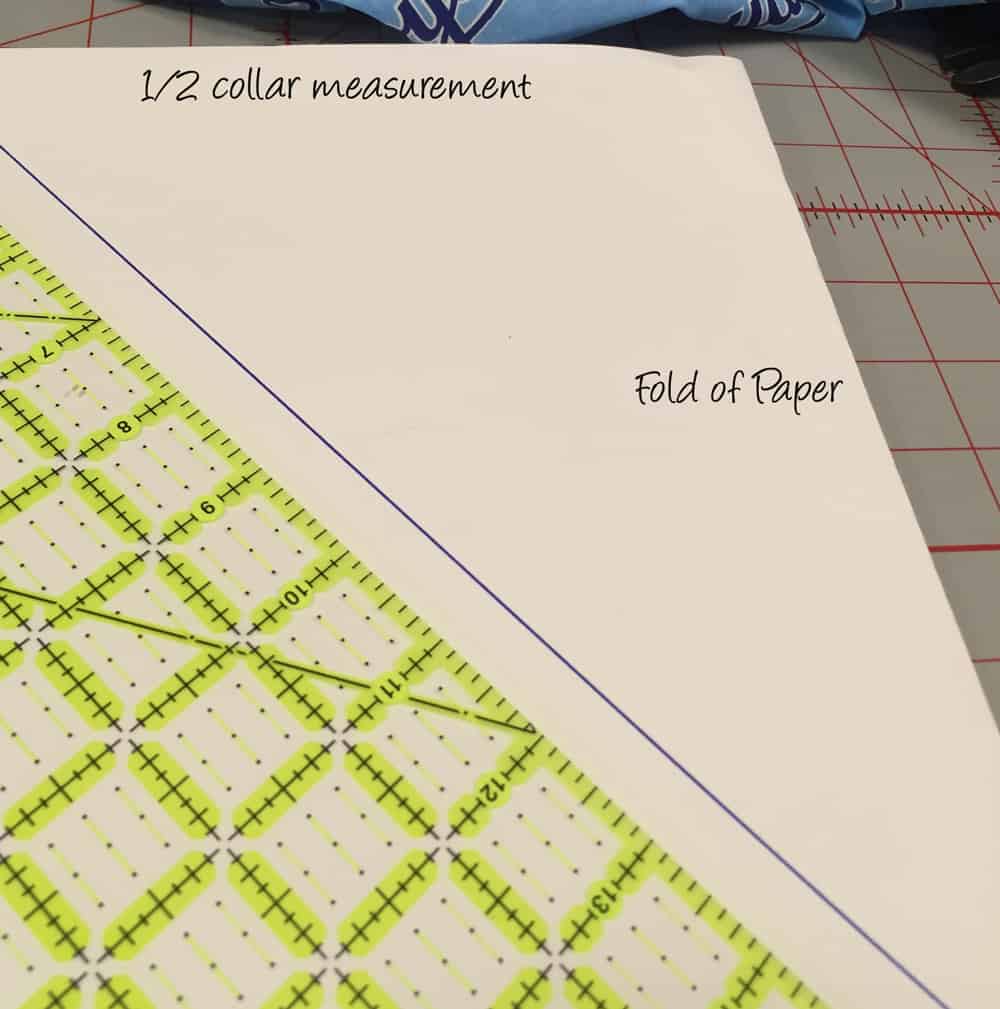
1. Measure over from the fold for 1/2 the length of your collar. Mark. Use your ruler to draw a diagonal line from your mark down to the fold, creating a triangle shape. How big the triangle is will depend on how big your animal is. For instance, the triangle for our dog collar (for a golden retriever) was 11.5″ long along the fold line. However, the triangle for the cat collar was 6″ along the fold line. Cut out the triangle and open the paper out.
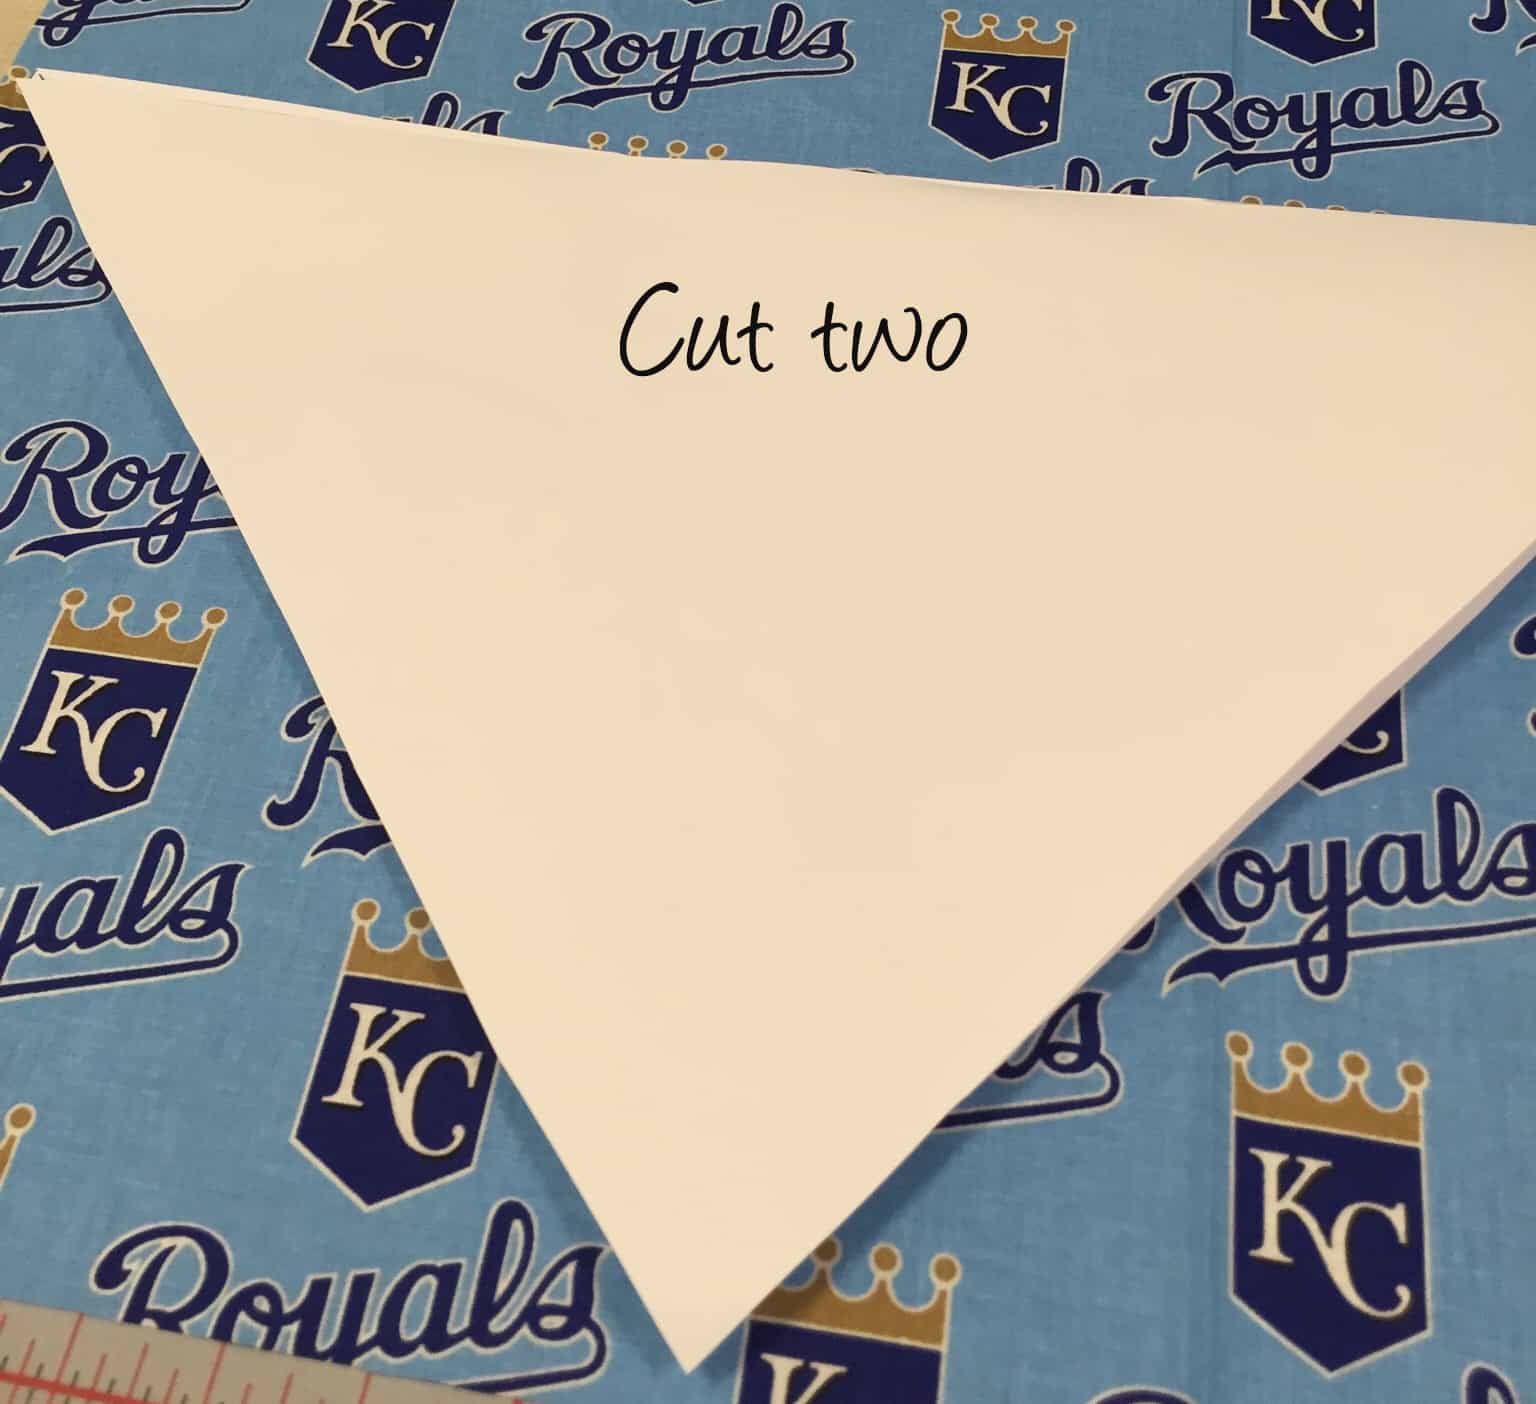
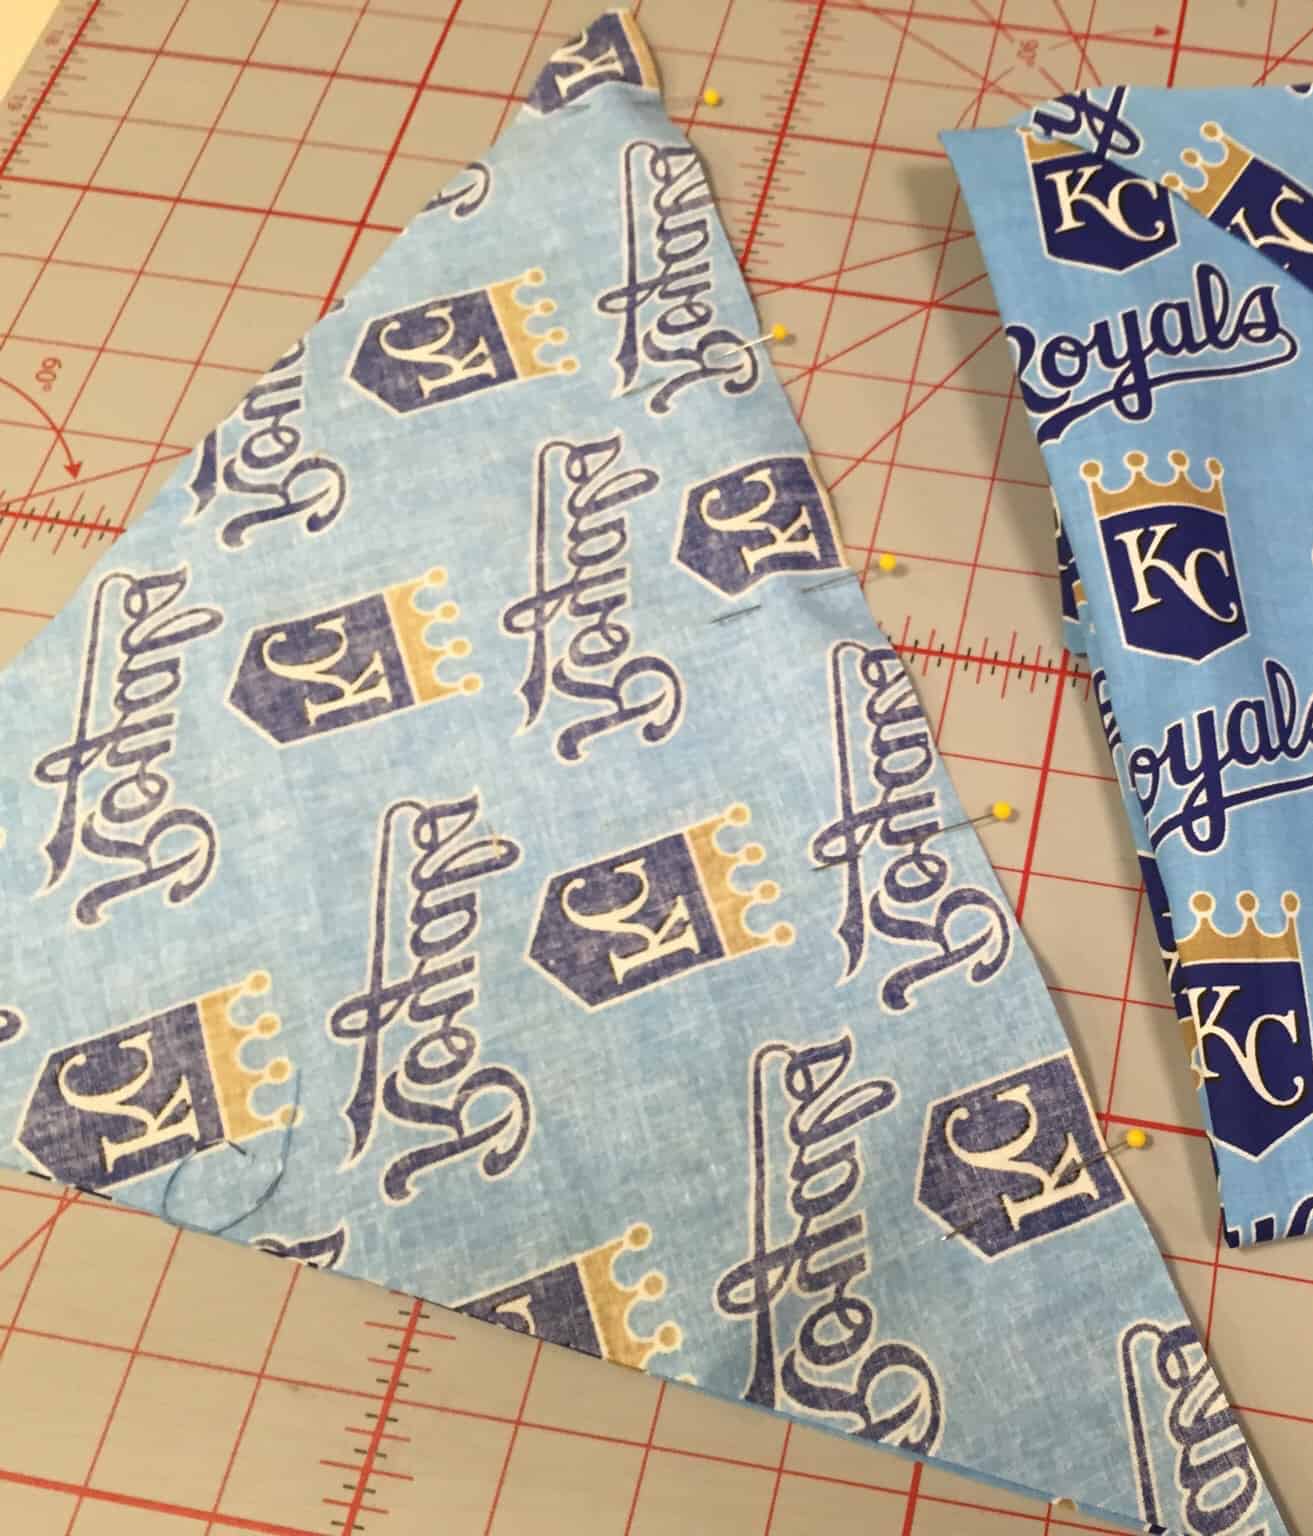
2. Place your pattern piece on the right side of your fabric. Note, when you are cutting out your scarf, consider the print placement. Cut out two triangles from your pattern piece.
3. Place both triangles right sides together. Pin and stitch with a 1/4″ seam allowance along the top edge. Be sure to backstitch! Fold open the scarf and press the seam open.
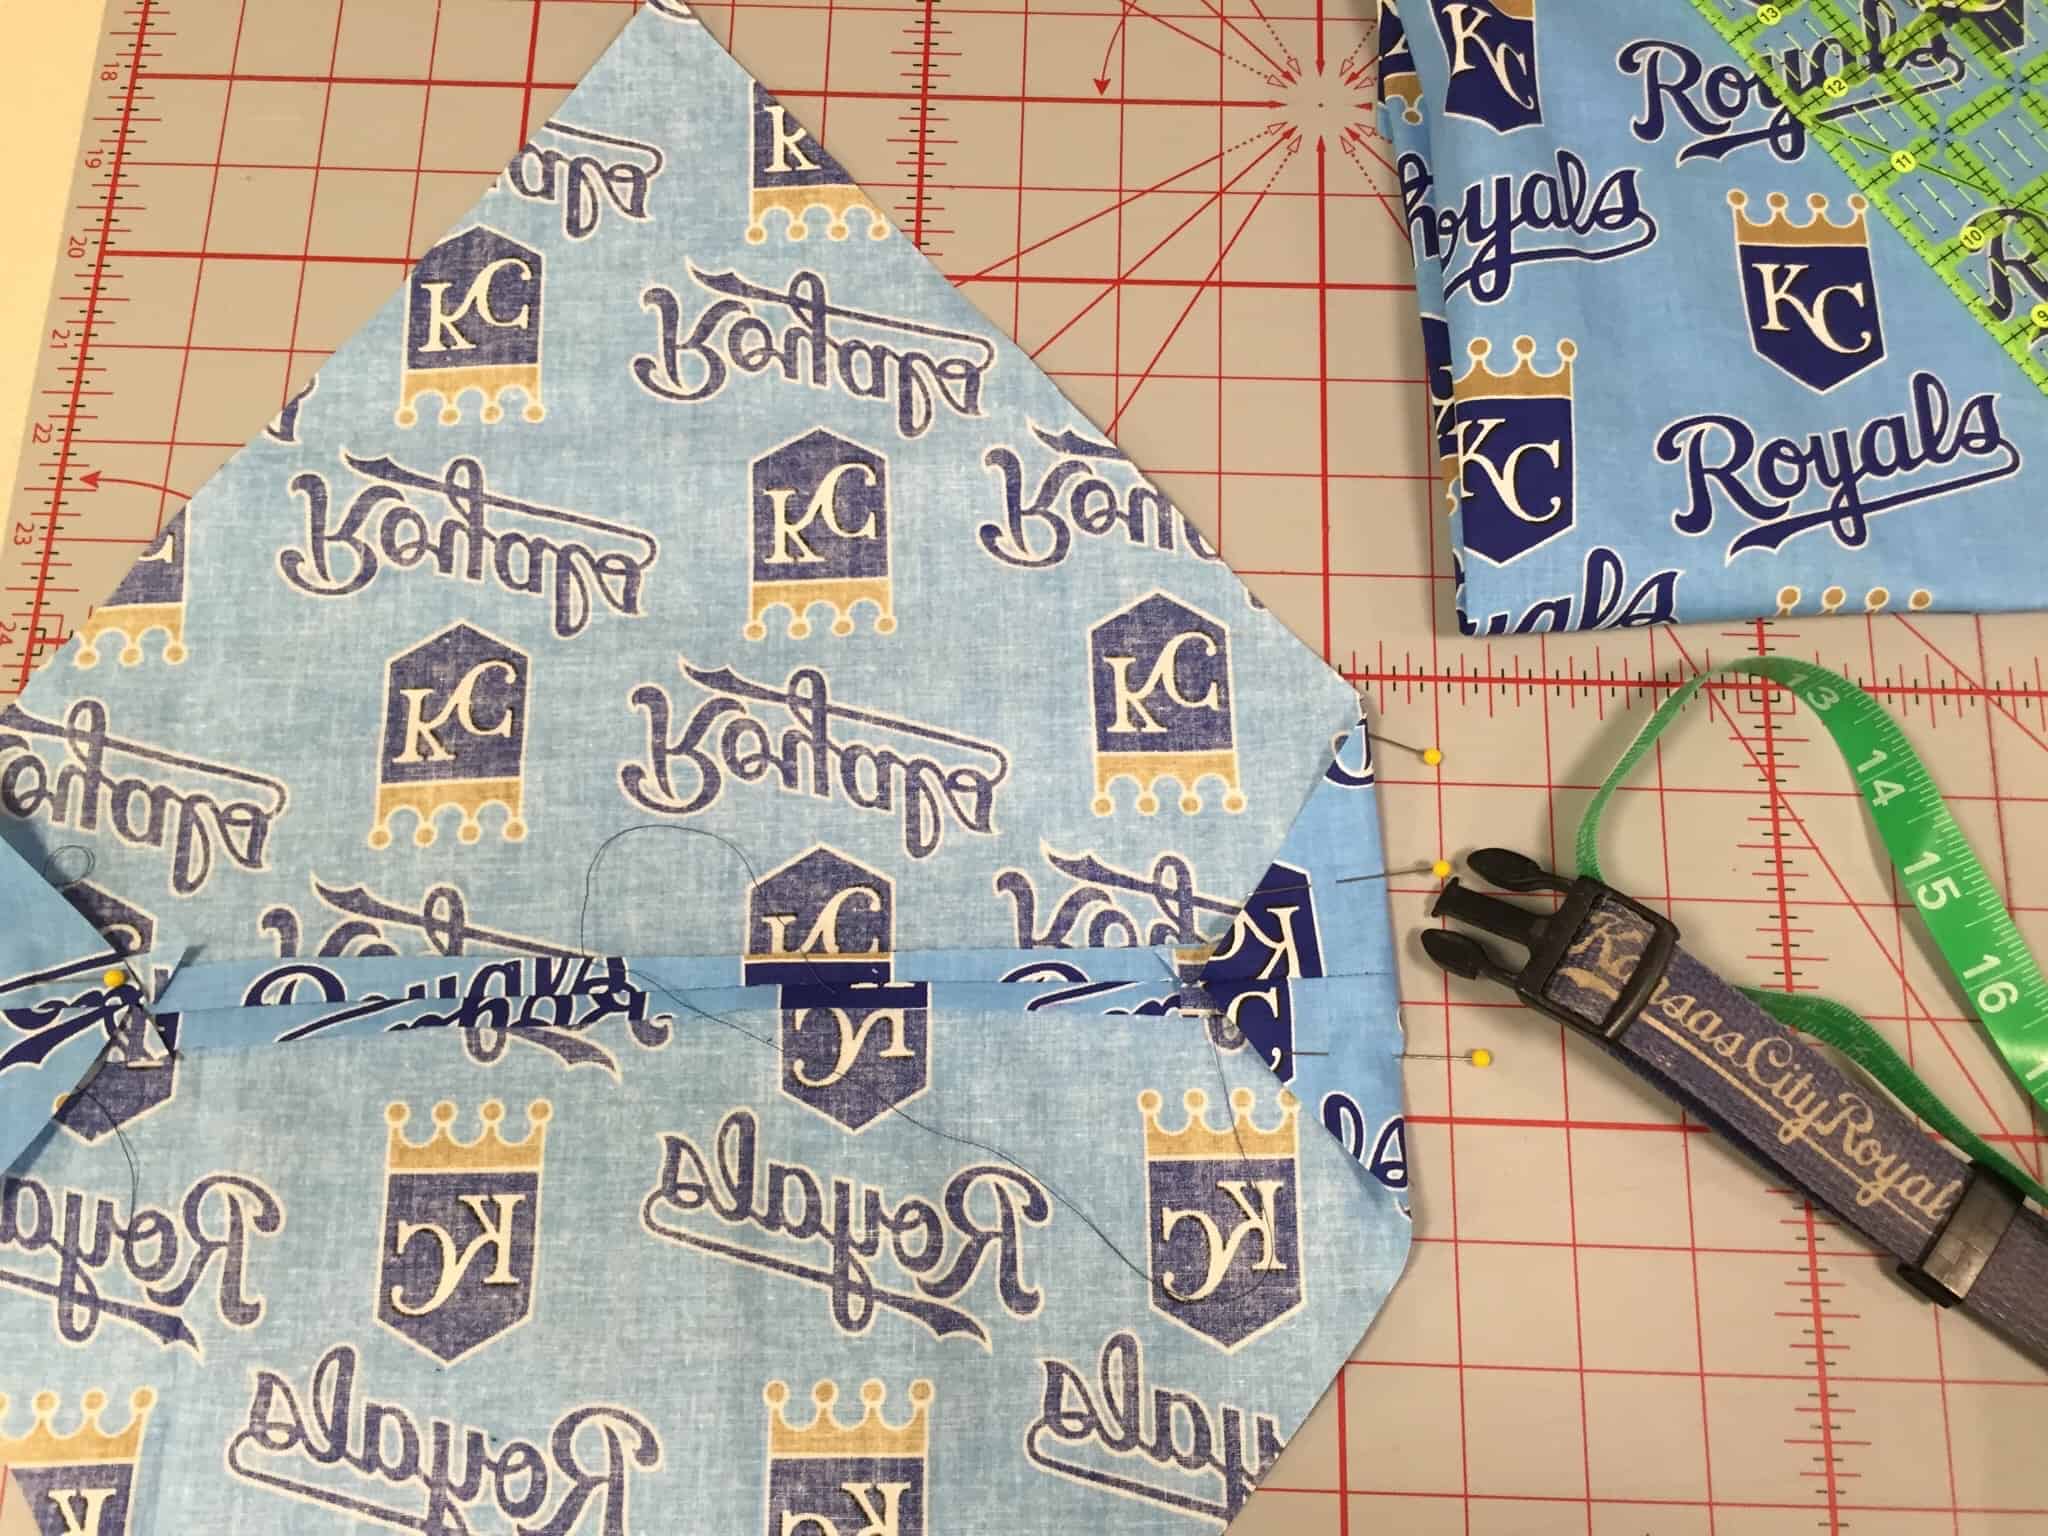
4. Measure the width of the largest buckle or closure on your pets collar. Add 1/2″ to that measurement. Using this measurement, make a mark along the corner seam. Fold in the corner edge to that mark. Press and pin. Repeat on the other side. Stitch with 1/4″ seam allowance. Press.
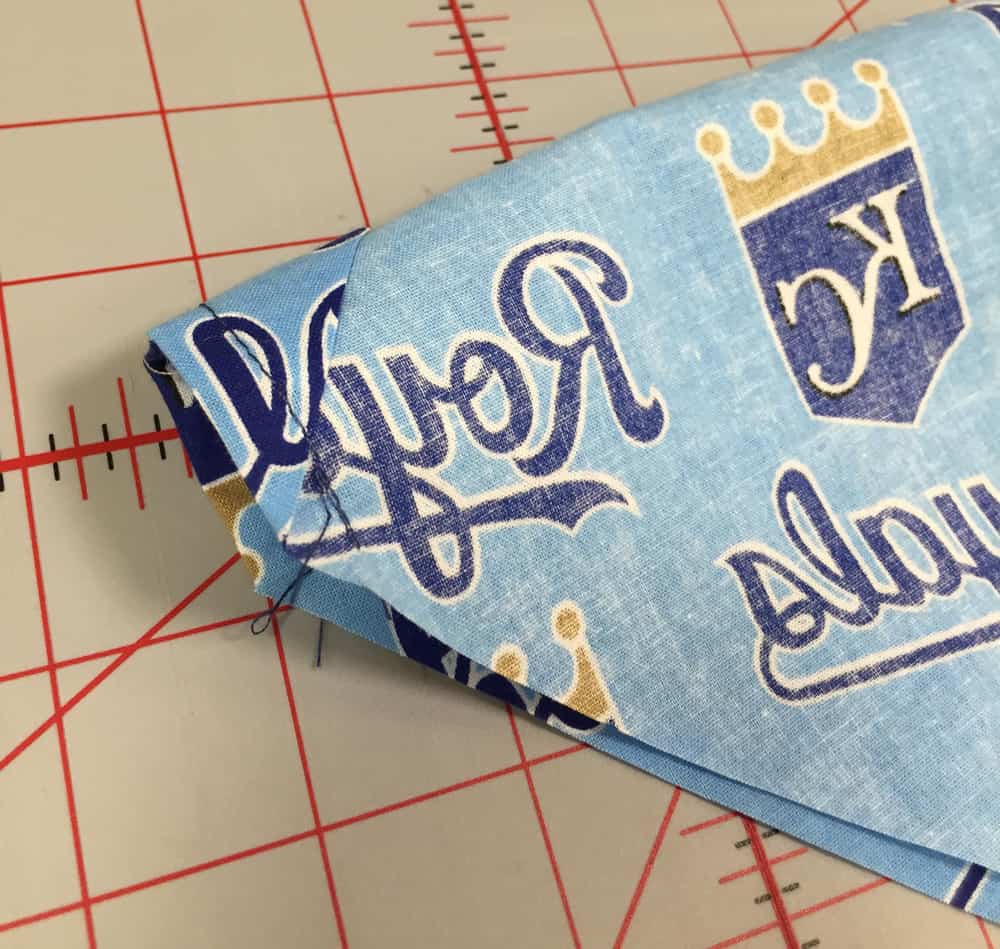
5. Fold right side together. Pin along the two remaining open edges. Stitch with a 1/4″ seam allowance. Trim allowance close to stitching line.
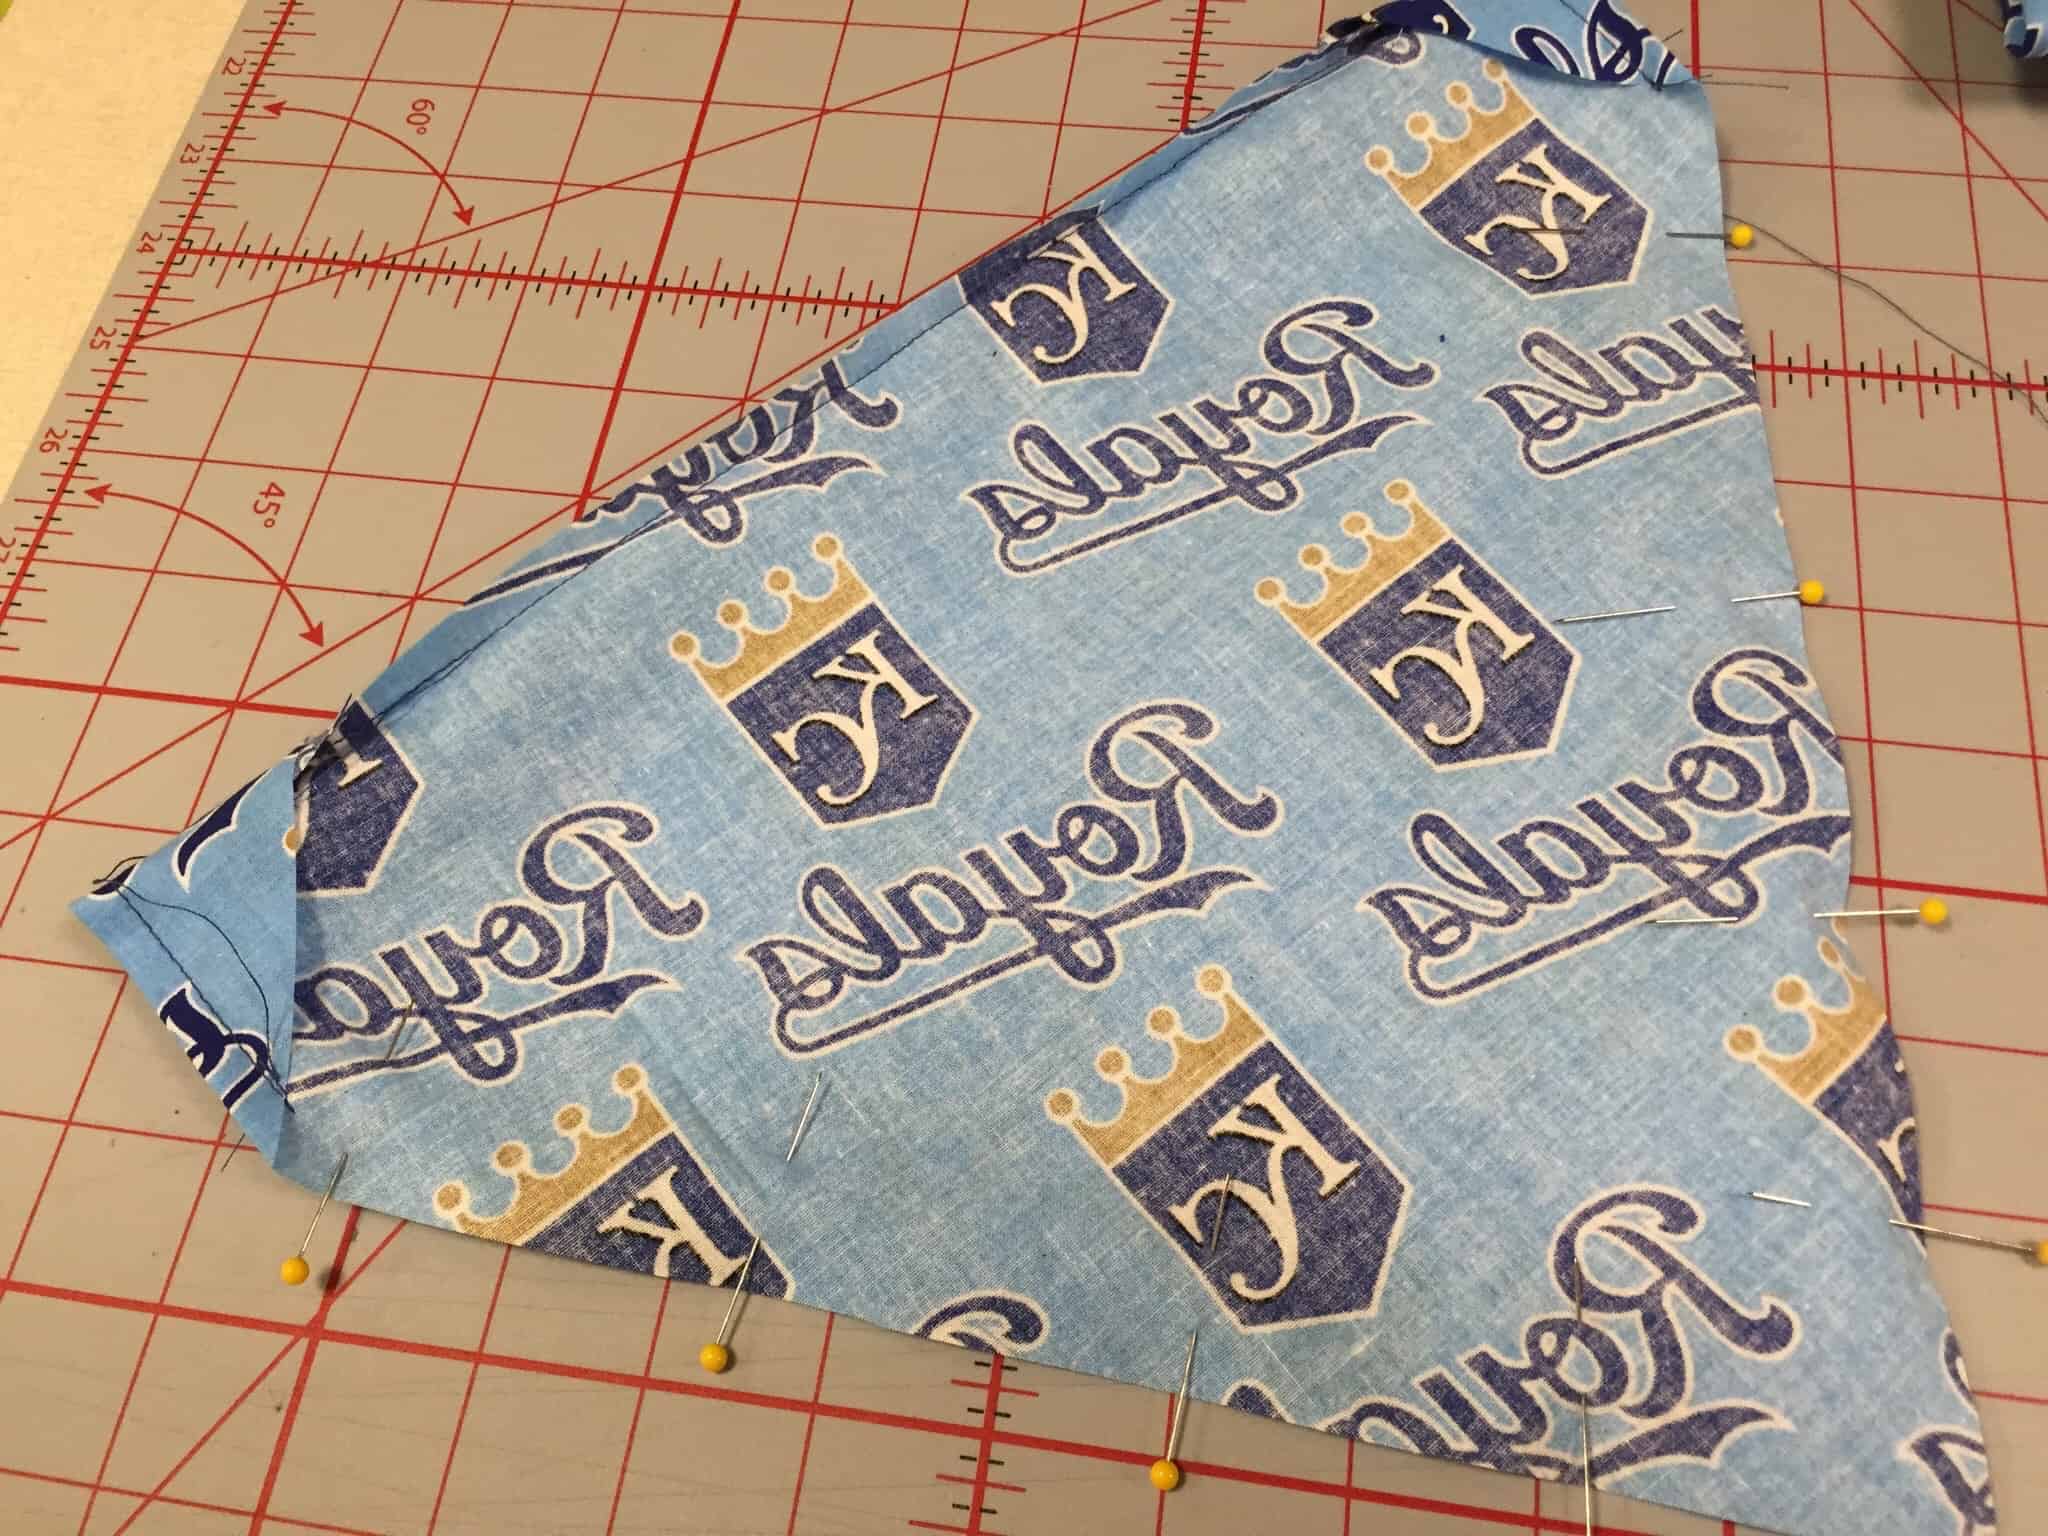
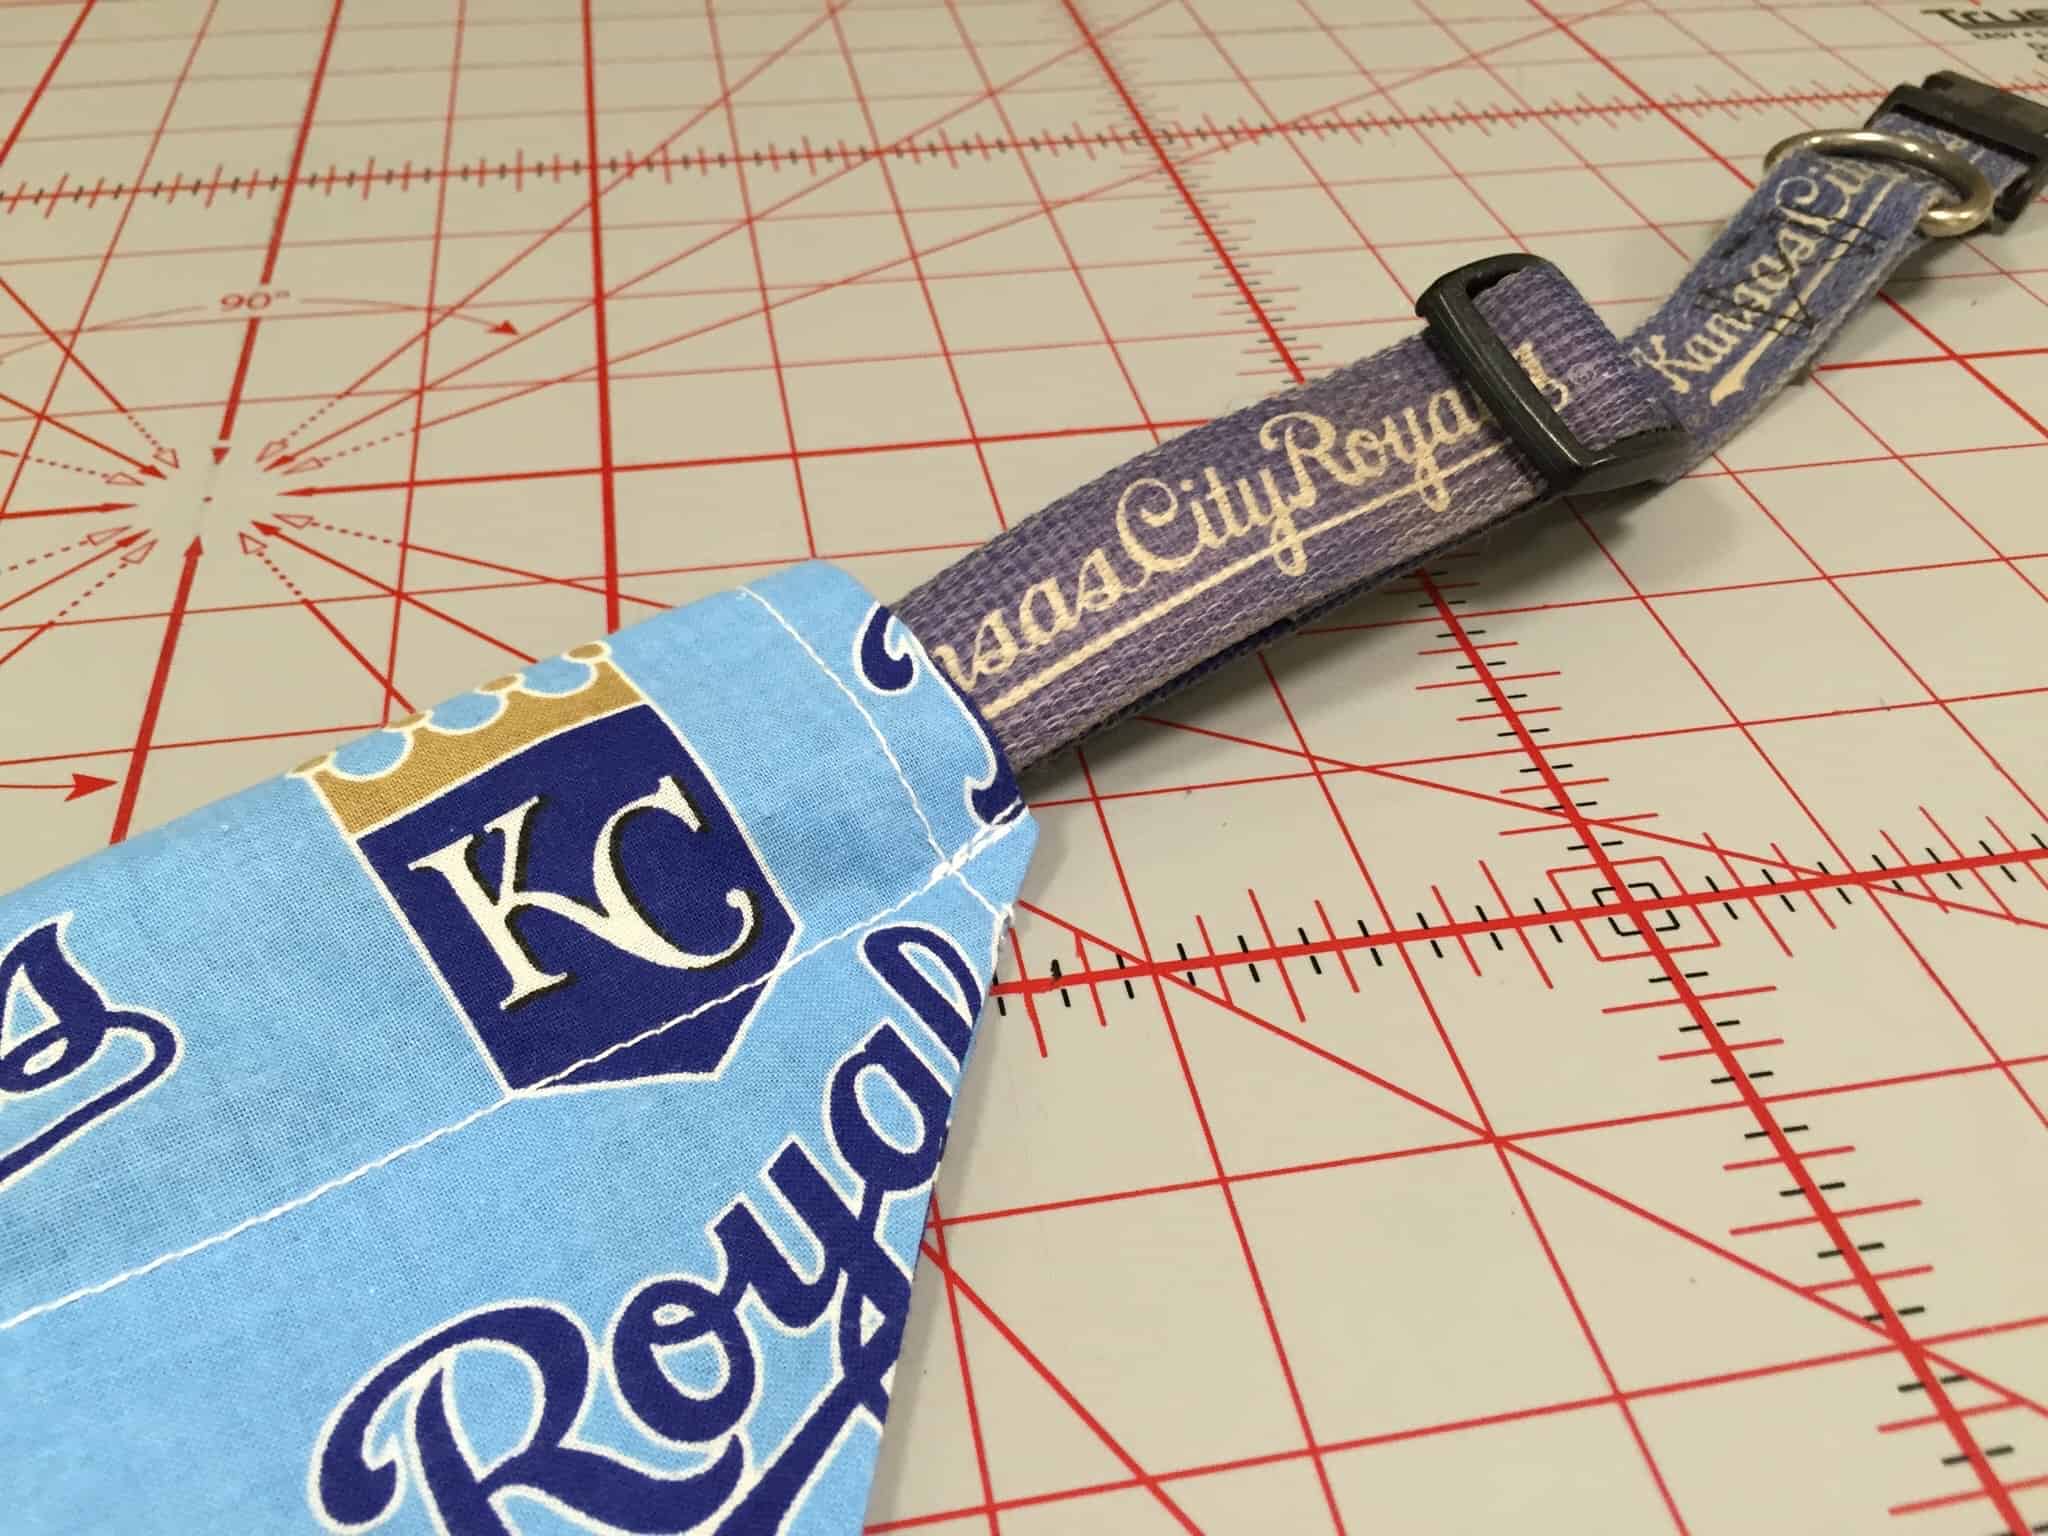
6. Turn scarf right side out through the collar opening. Press. Use your marking pen to draw a line from the bottom of both short lines of stitching to form the collar casing. Stitch along the line. Press.
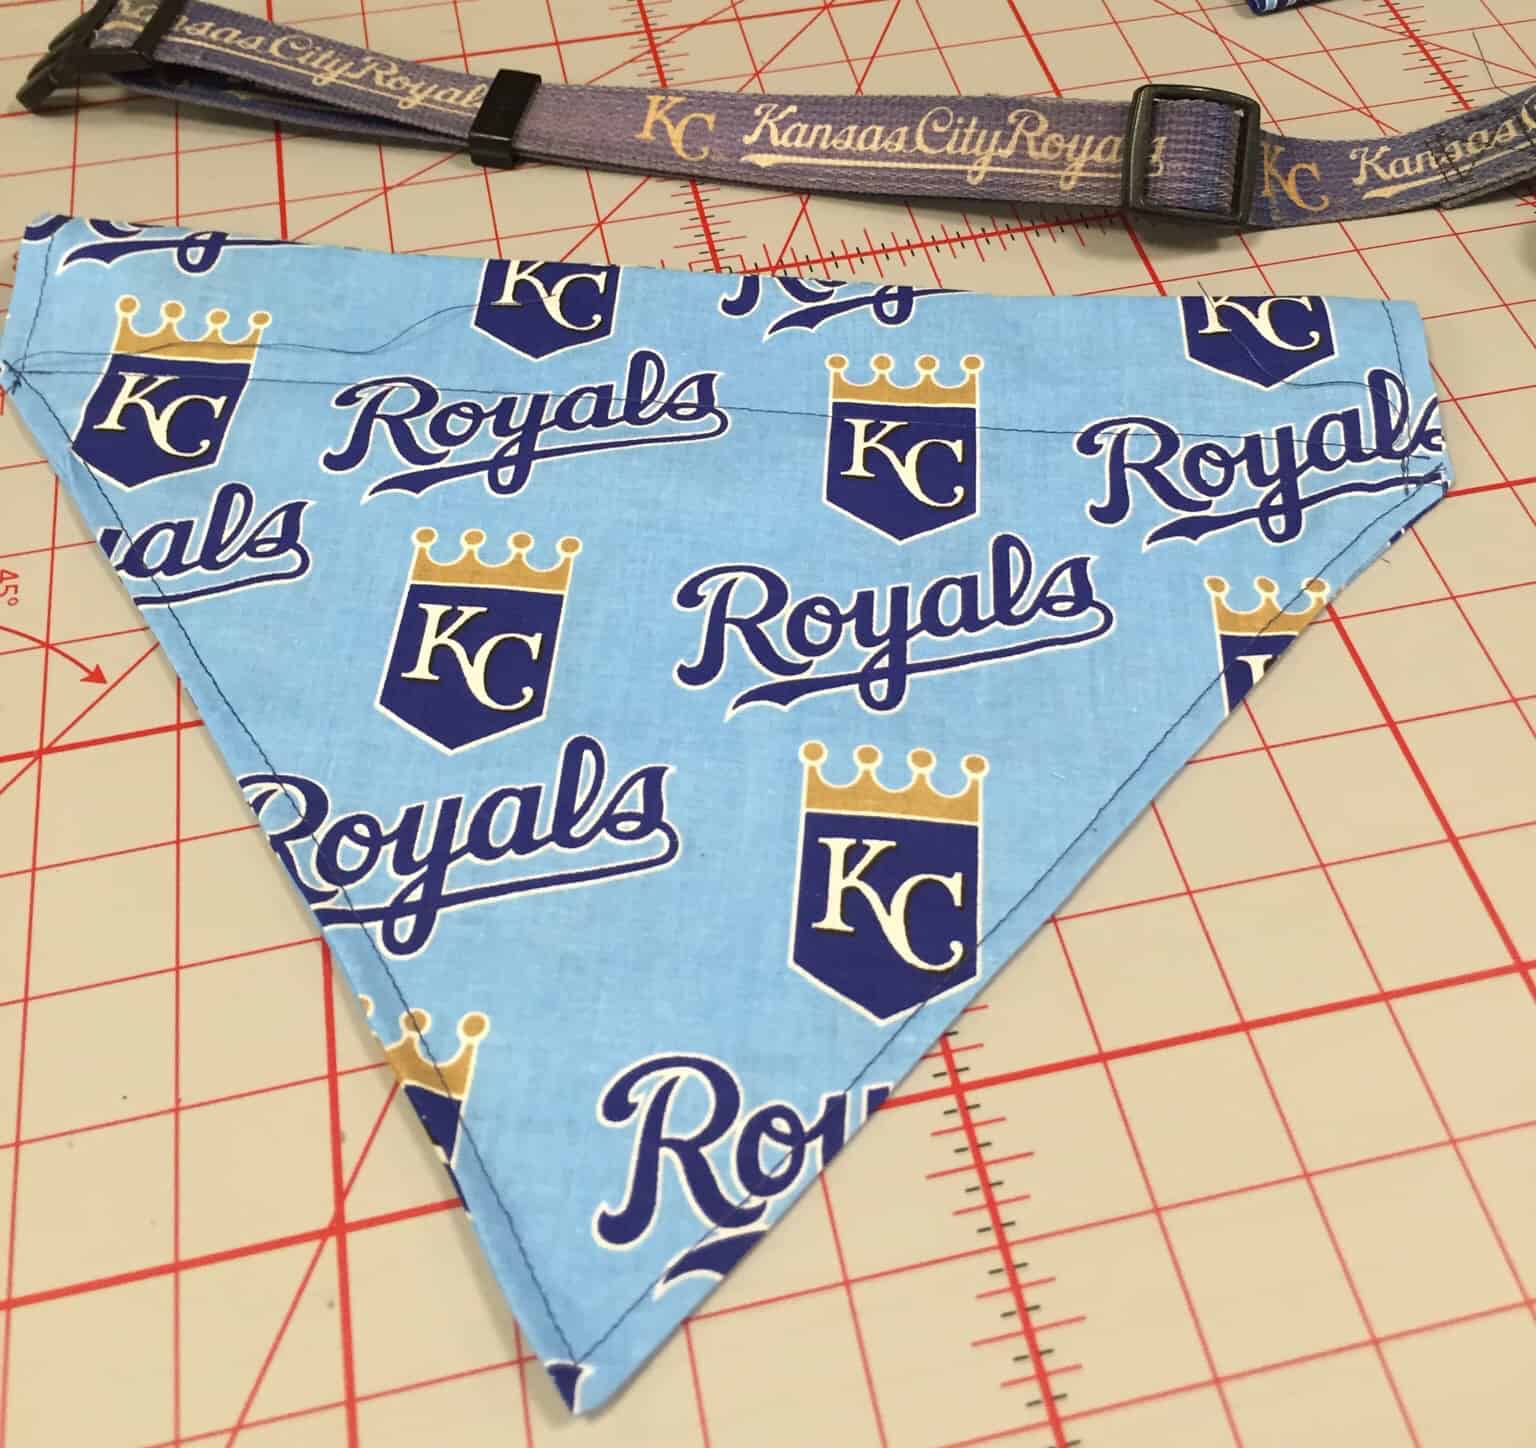
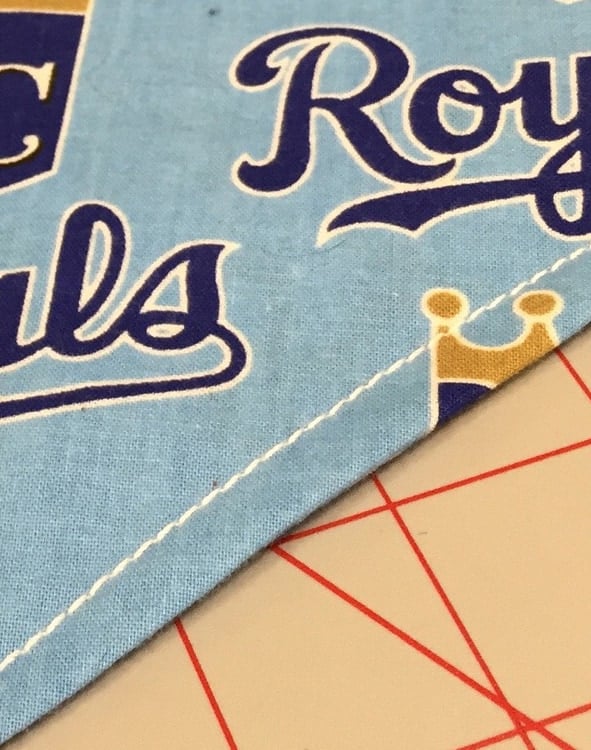
7. Topstitch along the bottom edges of the bandanna with a 1/4″ seam allowance. Have fun choosing your thread colors. I have new 12-weight Crossroads thread collections with Sulky that have a variety of fun colors and is perfect for topstitching! I used navy blue topstitching on the scarf above and white on the one below.
Thread your collar through the open casing, and dress your pet up in its new favorite scarf! Be sure to share your pictures with us on Instagram and Facebook #SewYourSpirit